Exercise
2: Getting Started with Saros
Throughout this course we will be taking the concepts
learned in lecture and applying them in practice. As part of
this, we will often be working with a real-world open source software
project: Saros.
Saros is an Eclipse plugin, which allows for collaborative software
development
by many participants through a shared Eclipse session. This
exercise will walk you through
downloading, building, and running Saros. The final step will
be to create a shared session so that you can become familiar with what
Saros can do.
Software
This lab requires an Eclipse installation with the following plugins:
- Java Development Tools
- Plugin Development
Environment, and
- Subclipse (a Subversion
frontend)
The following screenshots and
procedures were developed using the Helios Eclipse release (version
3.6.1).
Set up a development
environment
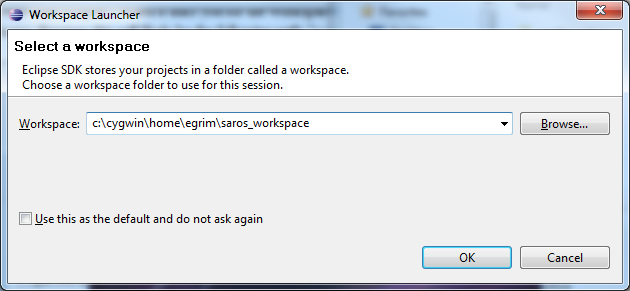
We will first create a new directory to serve as a clean
workspace within which we'll set up a Saros development
environment. First, start Eclipse. When it asks you
for the workspace to use, enter a non-existent or empty directory.
The screenshot below shows an example:
Note: If Eclipse does not prompt you to select a workspace location,
then you can manually select a workspace using the menu option: "File -> Switch
Workspace -> Other..."
Note: If prompted by Subclipse on whether or not to send anonymous
usage statistics, the decision is yours - it will not impact this lab
exercise's outcome.
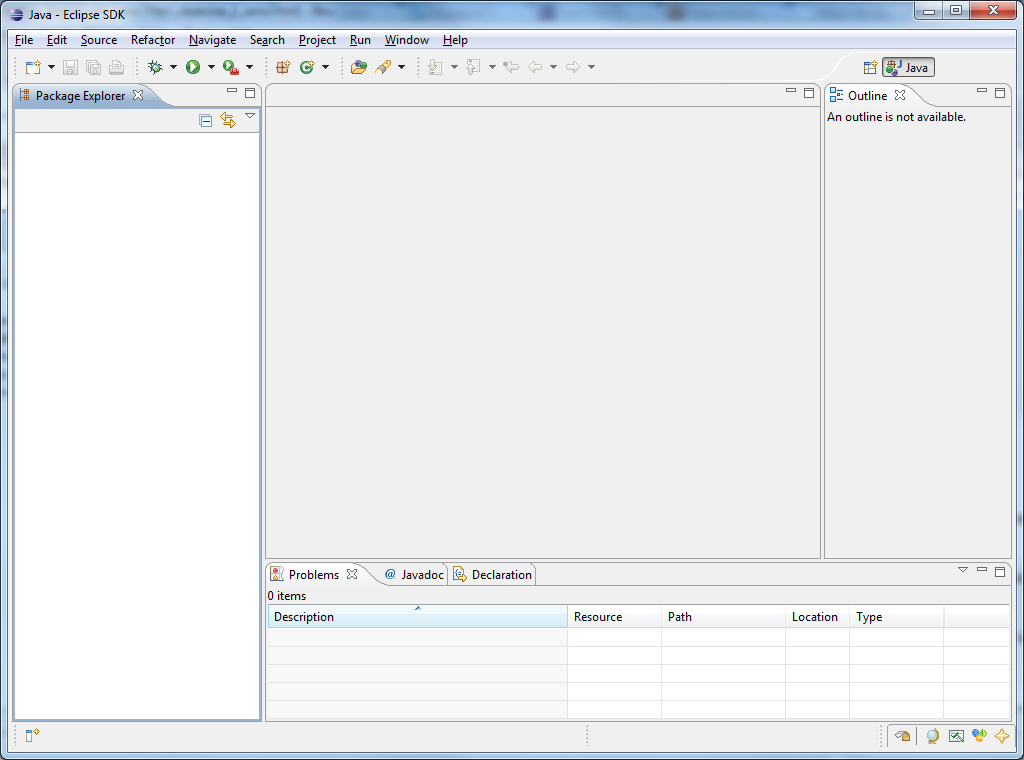
Once the workspace is loaded, you will likely need to dismiss the
welcome screen by clicking on the 'x' in the "Welcome" tab.
You should now be presented with a blank workbench, as seen
below:
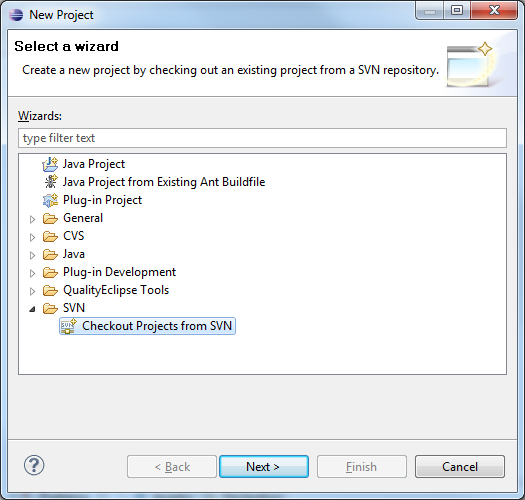
The next step is to checkout the Saros project from the class
repository. This is done using the
"File -> New -> Project..." menu item, which will bring
up the New Project
wizard. In this dialog select "Checkout Projects from SVN" in
the "SVN" section.
Click "Next" and select "Create a new repository location" from the
"Select/Create Location" dialog. Provide the following URL as
the location:
https://subversion.assembla.com/svn/ee461l_project_saros/
Click "Next", and this will set up the EE461L repository in
Subclipse. You may be asked to provide your credentials for the
class subversion server, your TA should provide you with this
information. Next you'll be asked to select the folder from the
repository which you wish to check out.
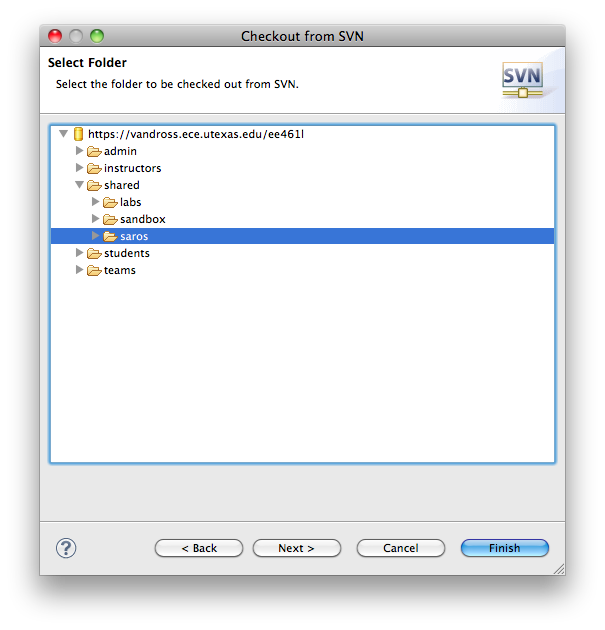
Click
"Finish" and after the code will be downloaded into your workspace
(this may take a few moments).
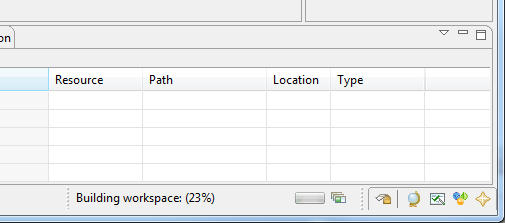
Once the project has successfully been created, the project should
automatically begin building, as evidenced
by the progress indicator in the lower right portion of the Eclipse
window:
Note: If Saros is not automatically built, you can manually begin the
build by selecting the "Project -> Build Project" menu item.
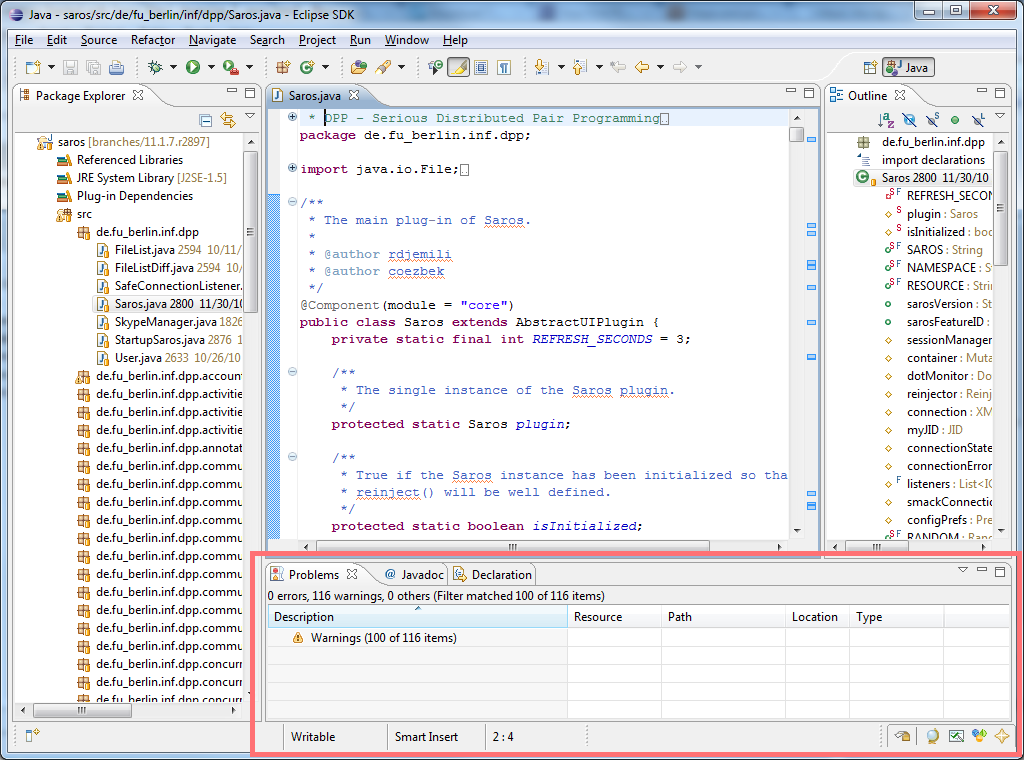
The build process should complete successfully. We can safely
ignore the numerous warnings for now, but you should not have
encountered any errors. Feel free to explore the plugin's
source code by expanding the Saros
project's item in the Package Explorer (as seen in the screenshot
below), but do not worry too much about understanding what everything
does at this time - you will become more familiar
with it during the
course of the semester.
Try it out
Now that Saros is built, it is time to try it out. For this,
you will need to pair up with someone else from the laboratory section.
Ideally your partner and you should be next to each other so
you can observe the activites of both Eclipse instances to learn more
about how Saros works. Each partner will need to have reached
this point in the exercise
and have successfully built Saros in their Eclipse workspace.
Each person should follow the instructions below on their
machine in order to start an Eclipse instance loaded with the
Saros plugin. The instructions will then diverge with one
individual serving as the host and sharing a session with the other.
Eclipse makes it easy launch a child Eclipse instance loaded with a
plugin under development using the built in "Run" capabilities.
We will now do so and will utilize a predefined run
configuration that comes with the Saros project.
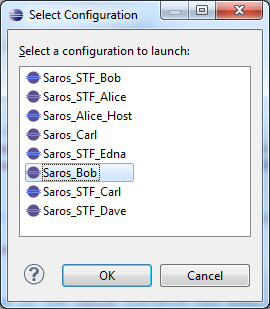
Begin execution using the "Run
-> Run"
menu item. The first time you attempt to do this it will ask
you what run configuration you want to use, as seen below:
Note: We will only be using one run configuration for this exercise
since we will be using Saros to pair Eclipse instances running
on
separate machines. However, the purpose of the multiple run
configurations is to configure the spawned Eclipse instance to utilize
unique workspace names and thus allow multiple Eclipse
instances to be run
on the same machine. This allows for testing to be
performed all on one local machine (as opposed to requiring multiple
machines) and may prove useful to you when you
are testing in the future.
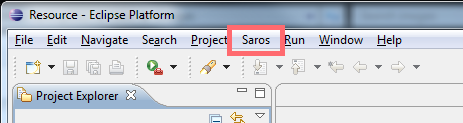
Select the "Saros_Bob" configuration and click "OK". This
will spawn a new Eclipse instance loaded with the Saros plugin we just
built. You'll notice that the launched Eclipse version now
has an added "Saros"
menu item.
Note: You may have to dismiss the "Welcome" tab again to view your
workspace.
Configure Saros by selecting the "Saros
->
Preferences" menu item.
This will bring up the Saros Preferences page.
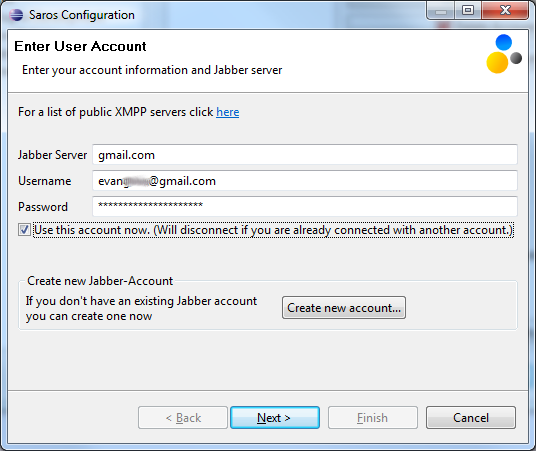
Select "Add Account", which will bring up the "Enter User
Account" dialog. You will need an XMPP server (also known as
Jabber) to continue. You may click the link provided in the
dialog for some public XMPP servers, or your TA may decide to run a
server to which you can connect. Alternatively, if you have a
Gmail account with Google,
you can use the following configuration options:
Jabber
Server: gmail.com
Username: <your full Gmail address (e.g.:
your_name@gmail.com)>
Password: <your Gmail password>
Note: Not all Jabber servers (notably Gmail) support account creation
via XMPP, so the "Create new account..." button will not work for these
servers.
Note: Each lab partner will need to provide a unique account in order
to pair with each other.
Enable "Use this account now." and click "Next". The next
dialog will prompt you for whether or not you wish to connect
automatically and for a Skype username. The values you select
for this screen are up to you (they do not affect this lab procedure).
Click "Finish" to dismiss the
"Enter User Account" dialog. You may be asked whether or not
you wish to send usage statistics to the Saros project developers -
again, this is up to you but once you have made your selection click
"Finish". Now you should be back on the "Preferences" window,
click "OK" to dismiss it. This should return you to your
empty
Eclipse workspace. Now we will switch to the "Java
Perspective" by selecting the "Window -> Open Perspective
-> Other" menu item, and selecting "Java". This will
automatically load the relevant Saros "Views" in the tabs at
the bottom of the workspace. Select the "Roster" tab for now.
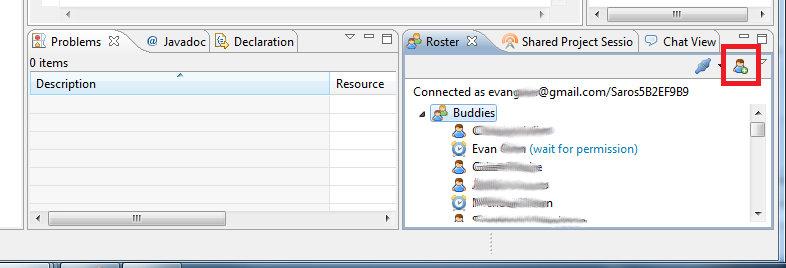
If you and your partner are not already contacts on the
jabber server you selected, you will need to add each other as
contacts. To do so, click on the "Add a new contact" icon in
the "Roster" tab.
This will bring up the "New Contact" window. Provide the
Jabber ID of your partner in the box.
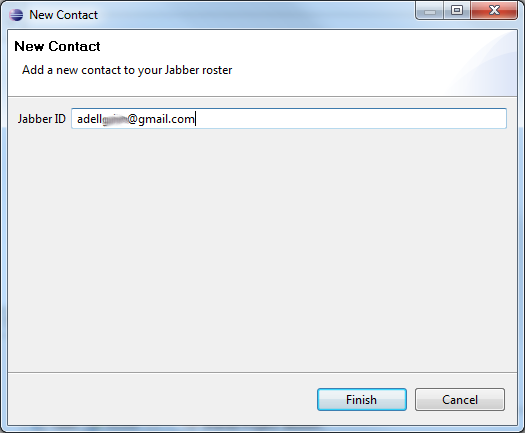
Click "Finish". Your partner may have to accept your add
request and should do so if prompted. Your partner should now
appear in your contact list.
Now is when the instructions will diverge for each partner.
Decide which of you will serve as the host and which will
have a session shared with them and follow the instructions given below.
Host
You will need a project to share, so we'll create a simple Hello World
project. Create this new project using the "File ->
New Project..." menu item. The "New Project" wizard will be
displayed. Select "Java Project" from the "Java" category.
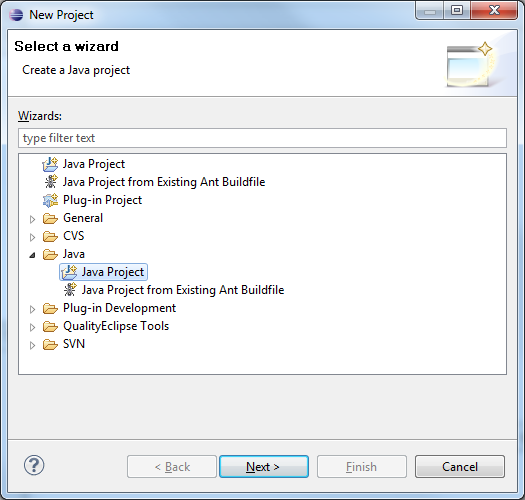
Click "Next" and the "New Java Project" dialog will be displayed.
Give your project the name of "HelloWorld" in the "Project
name" field and accept the default values for all other options.
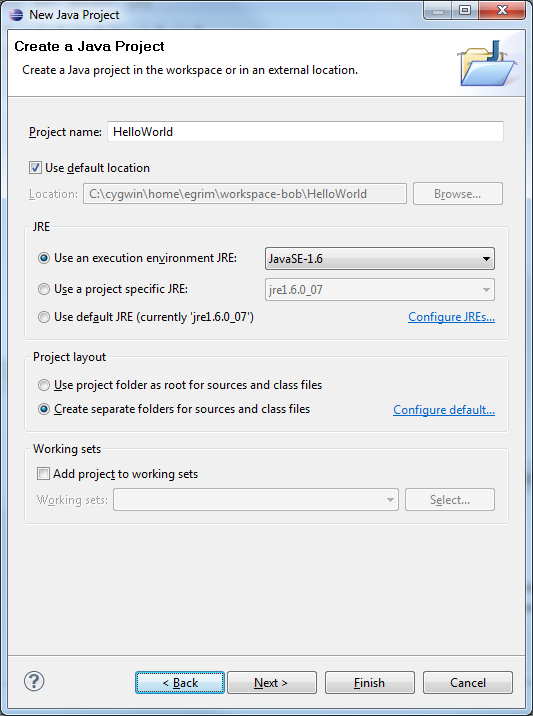
Click "Finish" and the new project will be created for you.
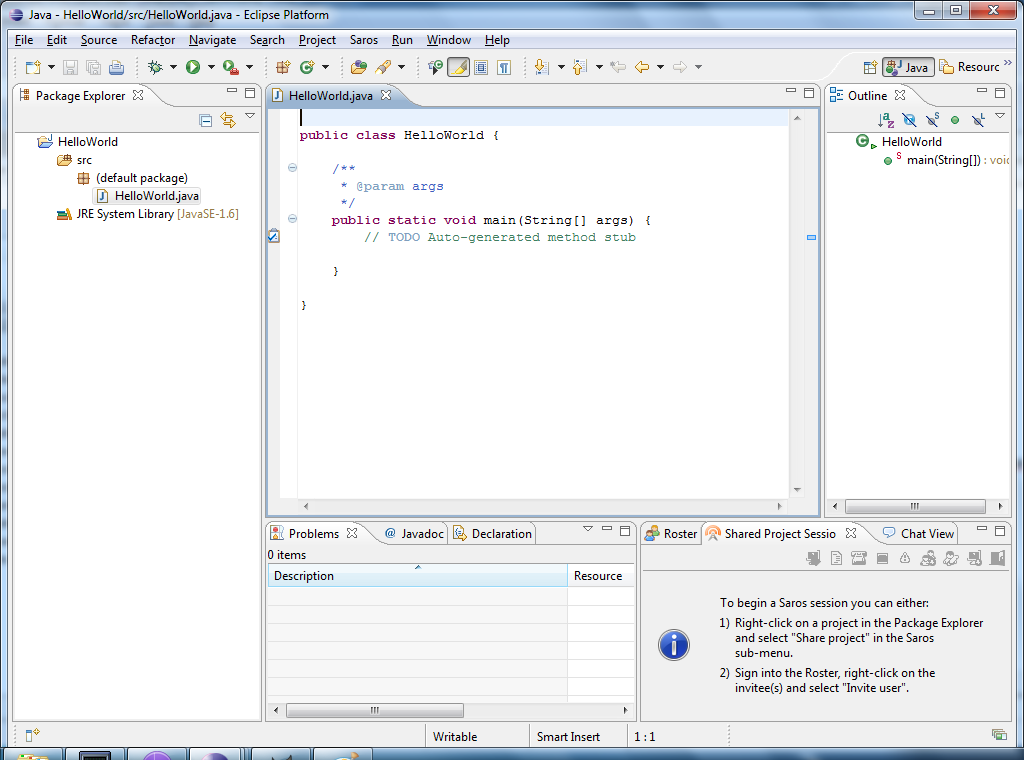
The next step is to create a simple class. To do
so, use the "File -> New -> Class" menu item which will
display the "New Java Class" dialog. Give your class the name
"HelloWorld" and be sure to enable the creation of a main method stub
(e.g.: the "public static void main(String[] args)" option).

Click "Finish" and the new class will be added to your project and
displayed in the editor.
Your project is now ready to be shared. To do so, right click
on the "HelloWorld" project in the "Package Explorer" and select the
"Saros -> Share Project..." menu item. This will
display the "Invitation" dialog. Select your partner from the
list of contacts.
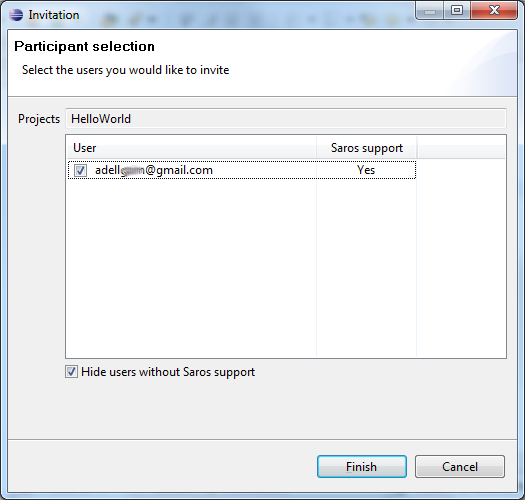
Click "Finish" and your partner will be prompted to join. Sit
back and observe your partner setting up the other side of the paired
session. Once he is following you, go ahead and replace the
"TODO" in the main method stub with the classic text:
System.out.println("Hello World!");
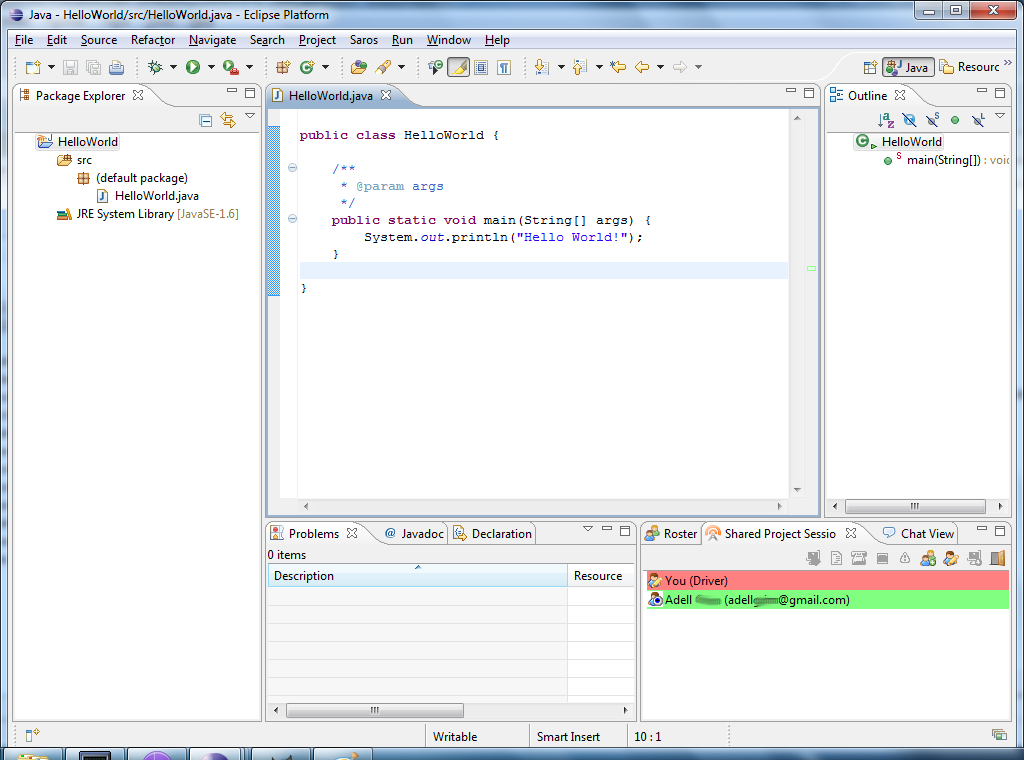
No since in you having all the fun - now it's time to let your partner
make some edits. Right click on your partner's name in the
"Shared Project Session" tab and select the "Give driver role" menu
item. Watch as your partner is now a full-fledged editor as
well.
Partner
Your partner will be creating a new project to share with you.
Once the project is ready to go, your partner will attempt to
start a session with you and you will be prompted with the following
"Session Invitation" dialog.
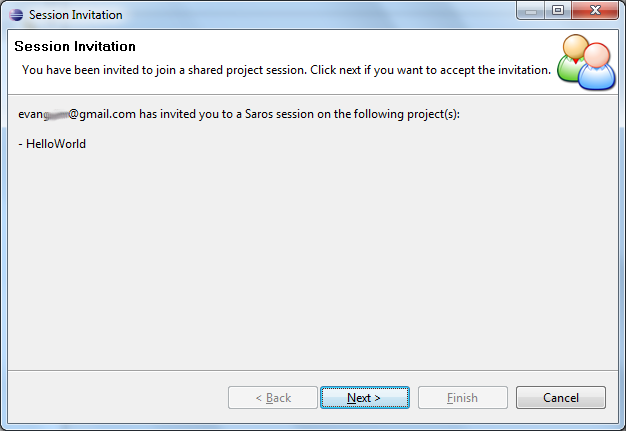
Click "Next" to indicate your interest in the session and Saros will
begin transferring session information to your computer.
Saros will inquire as to how you want to set up the local
project that will be synchronized with your partner's shared project.
Since this is the first time this project has been shared,
you'll want
to create a new project and Saros will transfer all the file
information to your workspace.
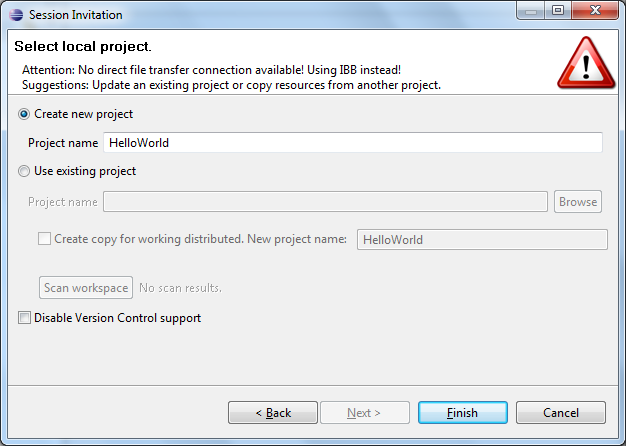
Note: For subsequent sessions you'll have a local project already set
up which you can choose at this point.
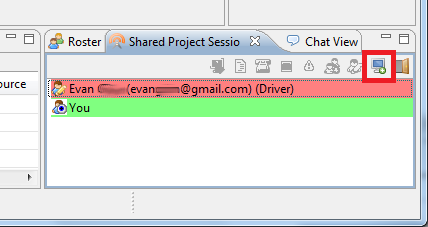
Click "Finish" to create the project and start the paired programming
session. Switch to the "Shared Project Session" tab and click
the "Enable/disable" follow mode button (highlighted below) and your
Eclipse session will begin to mirror whatever your partner is doing.
This should bring up the skeleton class file that your partner created.
Now tell your partner to begin editing and you'll see the
edits show up in real-time in your window.
It's about time
you got to make some changes too, so your partner should shortly be
giving you "driver" privileges as well. Once you've received
them, make a slight modification to the classic print statement they
just added:
System.out.println("Hello Collaborative World!");
Conclusion
At this point you can play around with the paired session and learn
more about what is possible. Try some of the following:
- Select text and notice that
it is indicated in your partner's window
- Change your assigned color
- Chat in the "Chat View" tab
- Check out the Saros website
to learn more
Developed with guidance from
Miryung Kim
Copyright
(c) 2011
Professor Miryung Kim and a course development TA Evan Grim
Permission is granted to copy, distribute and/or modify this document
under the terms of the GNU Free Documentation License, Version 1.1 or
any later version published by the Free Software Foundation; with no
Invariant Sections, no Front-Cover Texts, and no Back-Cover Texts.
A copy of the license can be found on the GNU web site here.